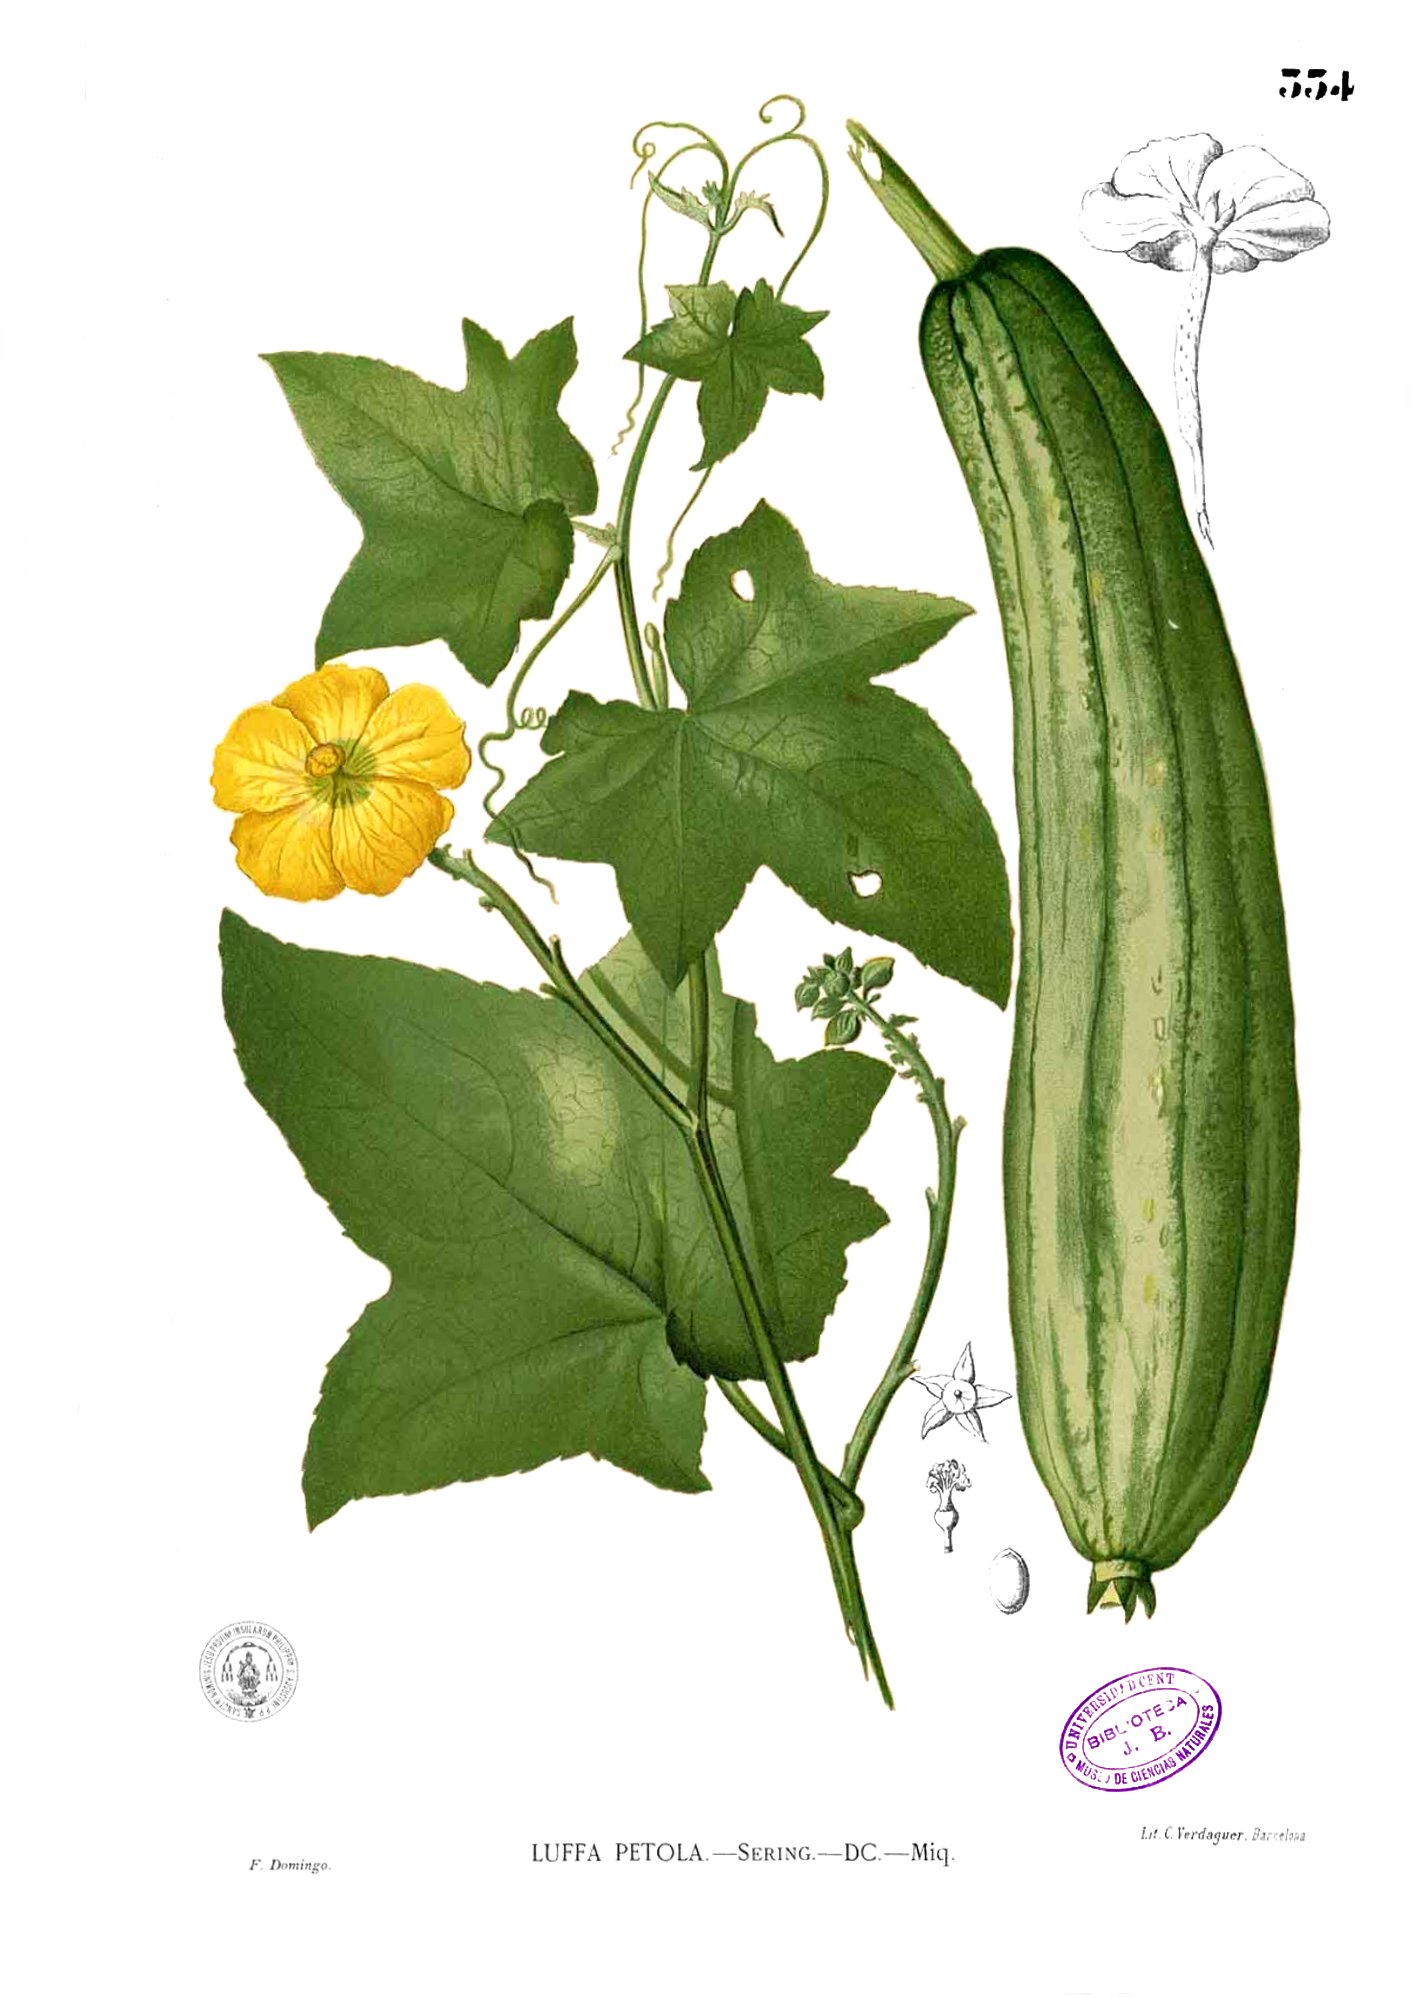
Header illustration: Francisco Manuel Blanco (O.S.A.), Flora de Filipinas — Public Domain, via Wikimedia Commons
Loofah is one of the most versatile crops you can grow on a small Hawaiian farm. One vine produces food, fiber, and raw material for value-added products — all without synthetic inputs. Waimanalo's year-round warmth means you can plant any month and run multiple overlapping cycles. This guide covers everything we've learned from seed selection to finished sponge.
In This Guide
1. Why Grow Loofah
Loofah (Luffa aegyptiaca and Luffa acutangula) is a tropical vine in the cucumber family that thrives in exactly the conditions found in Waimanalo — warm temperatures year-round, full sun, and fertile volcanic soil. It fits our naturally grown, zero-synthetic-input approach and opens multiple harvest windows from a single planting.
| Farm Fit | Why It Works Here |
|---|---|
| No frost risk | Waimanalo never freezes — loofah can be planted any month of the year |
| Organic inputs only | Thrives on compost, earthworm castings, and chicken manure — all produced on-farm |
| Multi-use crop | Edible when young, sponge/fiber when mature, seeds saved for next cycle |
| Community fit | Educational, hands-on crop — great for farm workshops and school visits |
2. Varieties
Two species are commonly grown in Hawaii. Both are edible when young and produce usable sponge fiber when mature.
| Species | Characteristics & Best Use |
|---|---|
| Luffa aegyptiaca Smooth Loofah (also L. cylindrica) | Most common sponge variety. Softer fiber, ideal for bath use. Grows to 18–24 inches. Best for sponge production. Seed suppliers may list this under either scientific name. |
| Luffa acutangula Ridged / Angled Loofah (Pepeʻe in Hawaiian/Pacific contexts) | Better eating quality when young — similar to Chinese okra. Sharper ridges, firmer fiber when mature. Good for kitchen scrubbers. A traditional food crop across the Pacific. |
3. Site Selection & Soil Preparation
| Factor | Wailupe Farms Guidance |
|---|---|
| Sunlight | Full sun — minimum 6 hours direct daily. Waimanalo's windward exposure is ideal. |
| Drainage | Well-drained soil is essential. Avoid low spots that puddle after rain. |
| Wind | Trellised vines can catch Trade Wind gusts. Orient rows North-South with sturdy posts. |
| Space | Each vine needs 5–8 ft of trellis and 6–10 ft row width. Plan generously. |
| Rotation | Do not follow cucumbers, squash, bitter melon, winter melon, papaya, or tomato in the same spot for at least 2–3 seasons. Melon fly and nematodes build up in cucurbit rotations. |
Natural Soil Preparation
Waimanalo's red lateritic clay-loam is fertile but can compact and drain poorly. Prepare beds using only on-farm or locally sourced organic amendments:
- Work 3–4 inches of finished compost into the top 12 inches of soil
- Add 1 lb composted chicken manure per planting hill, worked in well before planting
- Apply ½ cup earthworm castings per planting hole at transplant time
- Mulch heavily with grass clippings, straw, or wood chips — keep 2 inches away from stem
- Target soil pH: 6.0–6.8
Companion Planting
Good neighbors for loofah: beans (nitrogen fixation), marigolds (nematode suppression + pollinators), nasturtiums (trap crop for aphids), dill and cilantro in flower (beneficial wasp habitat).
Avoid planting near other cucurbits — they compete for pollinators and share the same pests.
4. Trellis Systems
A strong trellis is the single most important infrastructure investment for loofah. Vines reach 20–30 feet and can carry dozens of heavy fruit. Plan before you plant.
| System | Details |
|---|---|
| T-Post Wire ✅ Recommended | Steel T-posts 8 ft tall, spaced 10–12 ft apart. Run 3 horizontal wires at 2, 4, and 6 ft height. Strong, durable, reusable season after season. Best for rows of 10+ plants. |
| Bamboo A-Frame | Local bamboo poles lashed together in an A shape. Lower cost, uses on-island materials. Good for 5–10 plants. Needs reinforcing as vines get heavy. |
| Fence/Windbreak | Existing farm fencing works for small plantings. Bonus: vines provide windbreak for neighboring crops. |
| Overhead Pergola | Best for commercial scale. Fruit hangs straight — produces more uniform sponges. Higher build cost but superior quality at harvest. |
5. Planting & Timing
Unlike mainland growers who have one short window, Waimanalo allows continuous planting. Stagger plantings every 6–8 weeks for a year-round harvest cycle.
Timeline from Seed to Sponge
| Stage | Days | Notes |
|---|---|---|
| Germination | 7–14 days | Warm conditions required; scarify and soak seeds first |
| Seedling to transplant | 21–28 days | Transplant at 2–3 true leaves |
| Transplant to first flowers | 35–45 days | Male flowers appear first |
| Pollination to edible size | 7–10 days | Harvest young at 4–8 inches for eating |
| Pollination to mature gourd | 60–90 days | Full size, begins drying on vine |
| On-vine drying | 30–60 days | Skin yellows then browns; gourd lightens |
| Post-harvest processing | 3–7 days | Peeling, rinsing, sun-curing |
| Total: seed to sponge | 150–200 days | Varies with season and variety |
Monthly Planting Notes
| Month | Notes |
|---|---|
| Jan – Feb | Plant in a sheltered spot. Slower start but productive. Good time to start seeds in trays. |
| Mar – May | Excellent window. Warming temps and increasing rain support fast germination and strong growth. |
| Jun – Aug | Peak season. Fast growth. Watch water needs during dry spells on leeward sides of properties. |
| Sep – Nov | Good planting window. Will mature into Dec–Jan harvest. |
| Dec | Possible but slower. Start seeds in a warm, sheltered area. |
Seed Preparation
- Good seeds are dark, hard, and heavy — discard light-colored or soft seeds
- Scarify lightly: rub seed coat on fine sandpaper 2–3 strokes to help water penetrate
- Soak in warm water for 24 hours before planting
- Plant 2–3 seeds per cell in biodegradable pots; thin to the strongest seedling after first true leaves appear
- Germination: 7–14 days in warm conditions — keep soil moist but never waterlogged
Transplanting
- Transplant when seedlings are 3–4 weeks old with 2–3 true leaves
- Spacing: 4–5 ft between plants in-row; 6–10 ft between rows
- Water in well with compost tea or diluted worm casting liquid at transplant
- Provide 30% shade cloth for the first 1–2 weeks if transplanting in peak summer sun
6. Growing & Care
Yield Expectations
A healthy, well-managed loofah vine in Waimanalo conditions can produce:
- 5–8 sponges per vine — conservative estimate for first-season growers
- 8–12 sponges per vine — with optimal pollination, nutrition, and pest management
- Approximately 60–70% of fruit will meet top-grade standards with good growing practices
Plan your planting density around your processing capacity — don't grow more than you can handle at harvest time.
Watering
Loofah is a heavy drinker. Water deeply 2–3 times per week, more in hot dry weather. Drip irrigation at the base is ideal — keeps foliage dry and reduces fungal disease. Heavy mulch (3–4 inches) reduces water loss significantly in Waimanalo's breezy conditions. Never let plants sit in standing water — roots will rot.
Feeding
| Stage | Natural Amendment & Method |
|---|---|
| At planting | Compost + worm castings worked into planting hole |
| Weeks 2–4 | Compost tea foliar spray or soil drench every 2 weeks |
| Flowering (Week 6–8+) | Side-dress with composted chicken manure — ½ lb per plant. Encourages fruiting. |
| Heavy fruiting | Continue worm casting drenches every 3–4 weeks. Add kelp meal for micronutrients. |
Reading Your Plants: Nutrient Deficiency Signs
| Symptom | Likely Deficiency | Organic Fix |
|---|---|---|
| Yellowing older leaves, poor growth | Nitrogen | Side-dress with chicken manure or compost tea |
| Purple leaf undersides, slow growth | Phosphorus | Bone meal, rock phosphate |
| Leaf edge browning, weak stems | Potassium | Kelp meal, light application of wood ash |
| New leaves yellow, veins stay green | Iron | More compost, chelated iron foliar spray |
| Deformed fruit, blossom end issues | Calcium | Crushed eggshells, gypsum, consistent watering |
Training the Vine
- Guide young vines onto the trellis as soon as they develop tendrils (usually 2–3 weeks after transplant)
- Remove the first 4 lateral branches from the bottom of the vine — directs energy upward
- Remove all male flowers and early flowers for the first 4–6 weeks — delays fruiting until the vine is strong enough to carry good-quality gourds
- Once the vine reaches the top of the trellis, allow it to spread horizontally and begin fruiting
- Prune lower leaves regularly to improve airflow — critical for fungal disease prevention in windward Waimanalo
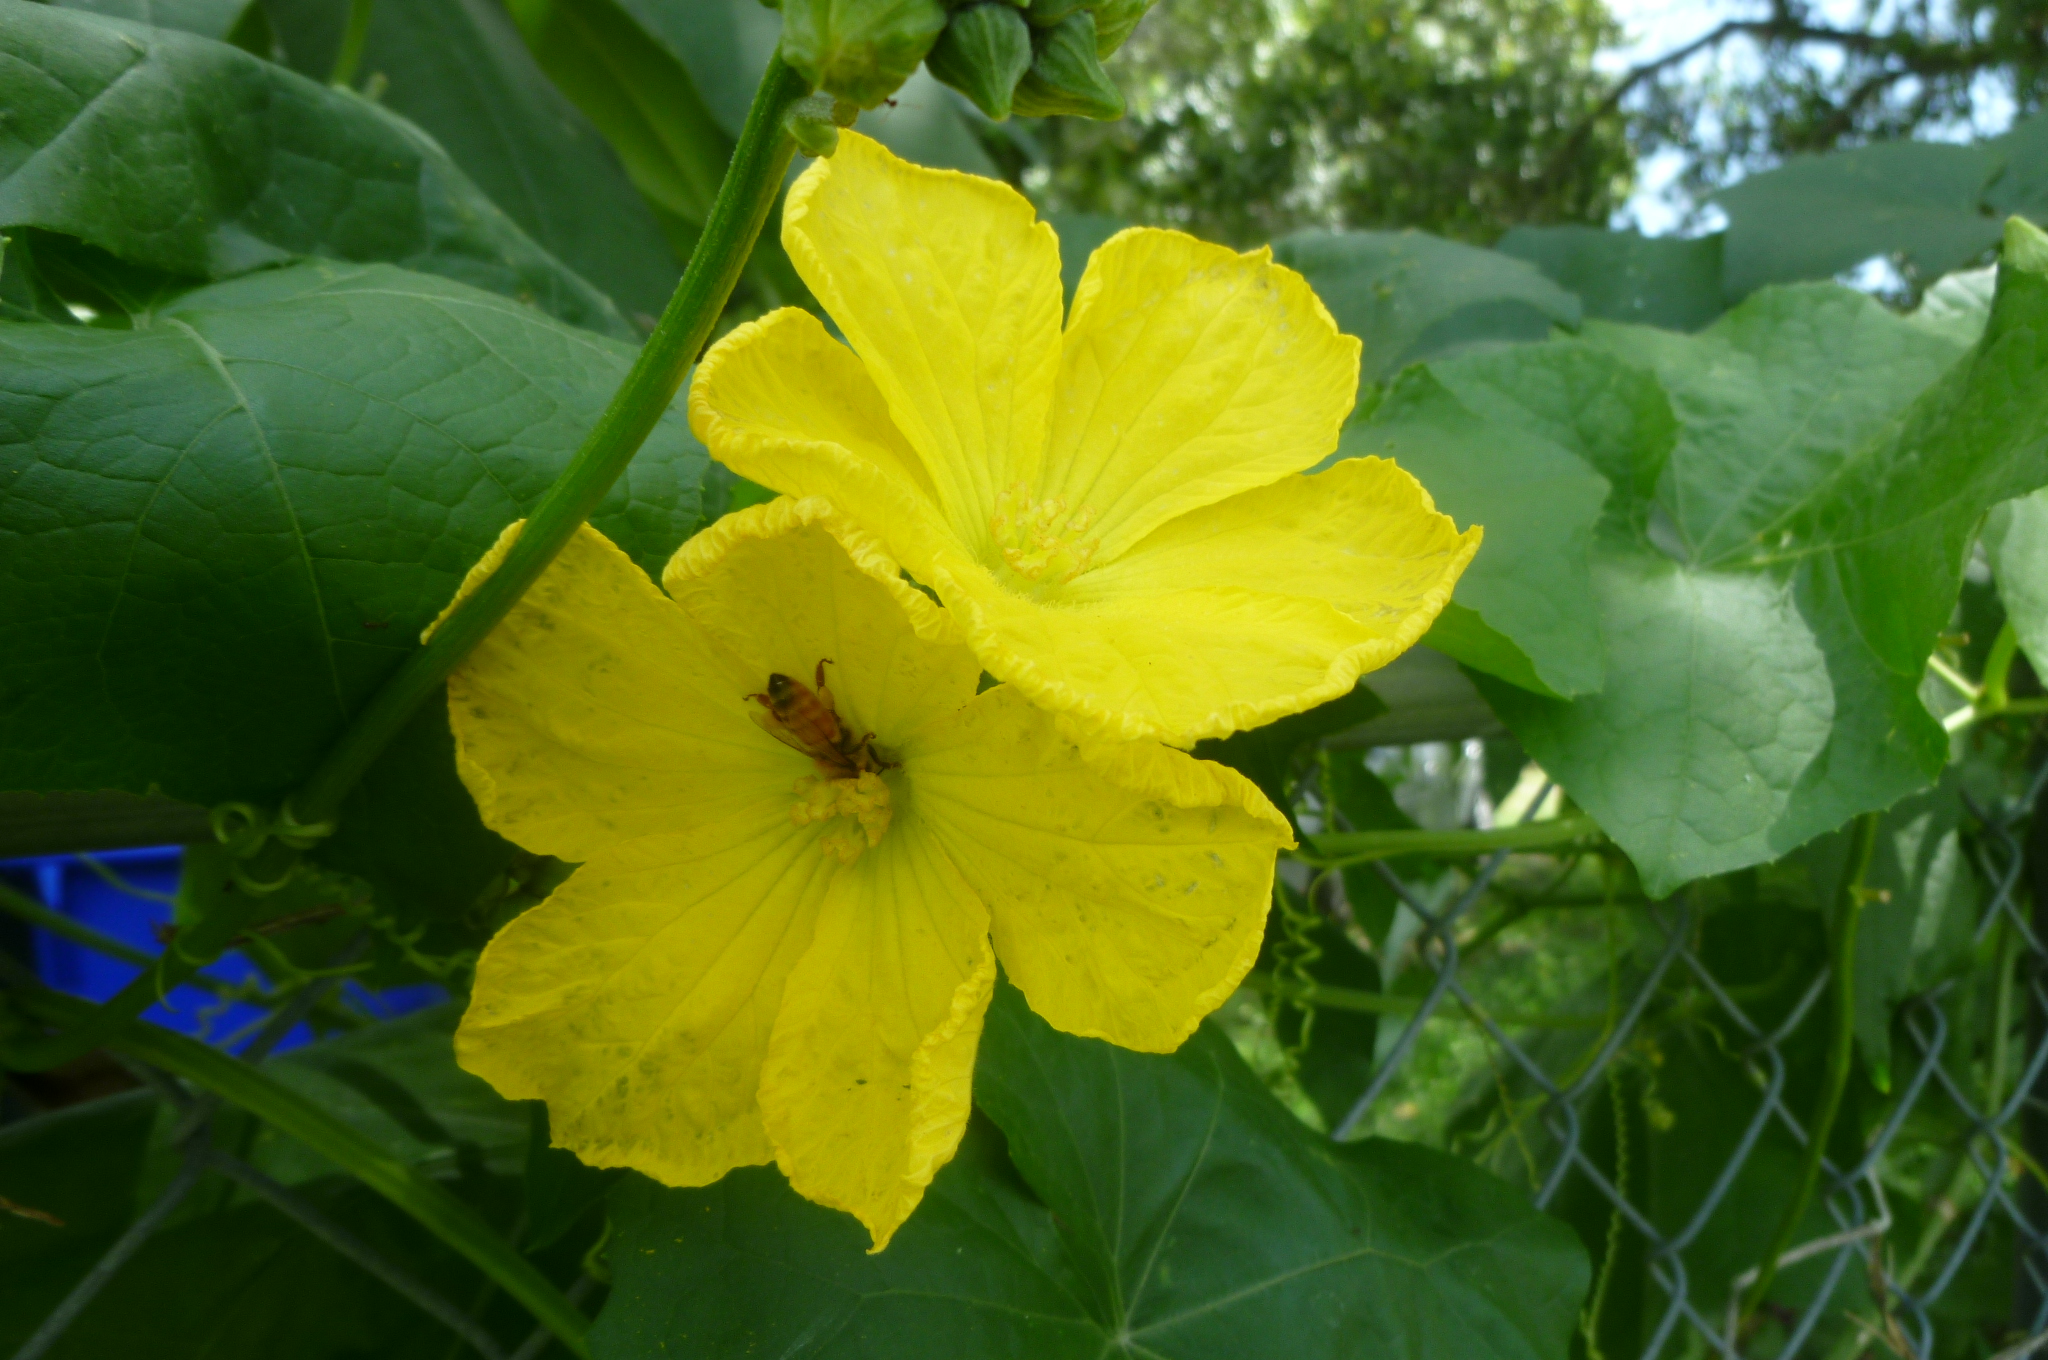
Pollination
Male flowers appear in clusters first; female flowers appear singly with a small swelling (baby gourd) behind the flower. Both need to be open simultaneously for pollination. Plant flowering companions at the base of your trellis — zinnia, cosmos, sunflowers, nasturtiums, basil in flower, dill, cilantro — to attract bees and beneficial insects.
Hand-pollination: Use a small paintbrush or pick a male flower and gently rub its pollen onto the center of an open female flower. Do this in the morning when flowers are freshest. Hand-pollination significantly improves fruit set.
7. Pest & Disease Management

Melon Fly: The Three-Pronged Approach (UH CTAHR Recommended)
Bagging alone is effective, but combining three tactics gives the best protection:
1. Bag the Fruit — your primary defense
- Cover young fruit with paper lunch bags or organza bags within 1–2 days of pollination
- Secure with a twist tie around the stem
- Remove bag only at harvest
2. Sanitation — eliminate breeding sites
- Bury infested or damaged fruit at least 18 inches deep
- Or: seal tightly in thick plastic bags for at least one month before composting
- Remove all crop residues immediately after harvest
- Do not leave fallen fruit on the ground
3. Trapping — monitor and suppress
- Use cuelure male lure traps placed in perimeter vegetation within 100 yards of your crop
- Check traps weekly — increase bagging vigilance when trap counts spike
- GF-120 NF Naturalyte (spinosad-based protein bait, OMRI-listed) can be applied as a spot spray to leaf undersides of border plants to attract and kill adults
- Note: UH CTAHR research has documented moderate spinosad resistance developing in some Hawaii melon fly populations — use protein bait as part of a rotation, not as a standalone control
Fungal Diseases (Critical in Windward Waimanalo)
Waimanalo's windward location and humid trade wind conditions create ideal fungal conditions — especially during rainy periods. Good trellis airflow and pruning of lower leaves is your first line of defense.
| Disease | Conditions | Symptoms | Organic Management |
|---|---|---|---|
| Anthracnose (Colletotrichum spp.) | Warm, rainy, humid — Waimanalo's wet season is high risk | Dark sunken lesions on leaves and fruit, sometimes with yellow halos | OMRI-approved copper fungicide; strict sanitation; avoid overhead irrigation |
| Downy Mildew (Pseudoperonospora cubensis) | Cooler wet periods (below 75°F) — Waimanalo winter months | Powdery coating on leaf undersides, yellowing on leaf tops | Neem oil spray; maximize trellis airflow; avoid wetting foliage |
| Powdery Mildew | Dry conditions with humidity swings | White powdery coating on leaf surfaces | Diluted neem oil (2 tsp/gallon) or baking soda solution (1 tbsp/gallon) preventively |
Root-Knot Nematode
Root-knot nematodes (Meloidogyne spp.) are present in most Hawaiian agricultural soils and can devastate cucurbit crops without obvious above-ground symptoms until plants collapse.
- Symptoms: Stunted plants, yellowing, wilting despite adequate water — pull a plant and check roots for swollen galls
- Prevention: Heavy compost additions encourage beneficial microbial competition; marigold cover crops between seasons (biofumigation); solarization of empty beds during dry summer months; long rotations out of cucurbits (3–4 seasons minimum)
- Soil health: Healthy, biologically active soil is your best long-term defense
Other Pests
| Pest | Signs | Management |
|---|---|---|
| Aphids | Clusters on new growth; sticky residue | Strong water blast; encourage ladybugs with flowering herbs; neem spray if severe |
| Cucumber beetle | Chewed leaves; adults visible | Row cover on young plants; hand-pick adults; beneficial nematodes in soil |
| Root rot | Wilting despite water; roots dark and mushy | Improve drainage; never overwater; add cinder or perlite to heavy clay soils |
8. Harvesting
Eating Harvest (Young Fruit)
- Harvest for eating when fruit is 4–8 inches long, bright green, and firm
- Texture is similar to zucchini or cucumber — use in stir-fry, soups, curries, or raw
- Check plants every 2 days — fruit grows fast in warm weather
- Young angled luffa (L. acutangula) is particularly good eating and is a recognized vegetable market crop
Sponge Harvest (Mature Fruit)
Allow selected fruit to stay on the vine approximately 60–90 days after pollination. The gourds will grow large, then begin to dry and yellow on the vine.
Signs of readiness:
- Skin turns from deep green → yellow-green → tan or brown
- Fruit feels noticeably lighter — water content has dropped
- Skin feels loose and slightly papery when pressed
- Seeds rattle loudly inside when shaken
Sponge Grading at Harvest
Sort your harvest into grades as you pick — it determines how each sponge is used and priced:
| Grade | Criteria | Best Use |
|---|---|---|
| Grade A — Premium | 12+ inches, straight/uniform shape, light even color, dense resilient fiber, no blemishes | Premium retail — bath sponge |
| Grade B — Standard | 8–12 inches, slight curve acceptable, minor color variation, minor cosmetic flaws OK | Standard retail — bath or kitchen use |
| Grade C — Functional | Under 8 inches, crooked, significant blemishes | Kitchen scrubbers, craft projects, embed in products |
| Reject | Mold, insect damage, soft spots that persist after drying | Compost (save seeds first if any are viable) |
9. Processing & Drying
Processing is the most labor-intensive part of loofah production. Develop an efficient workflow early and process in batches. The steps below use the natural, chemical-free method consistent with Wailupe Farms' approach.
- Harvest in batches. Twist or cut the gourd from the vine. Work in groups to make processing efficient.
- Crack the skin. Press the gourd firmly against a hard surface repeatedly to crack the outer skin all over — or soak in water for 10–15 minutes to soften it first.
- Peel. Find a seam or crack, push your thumb under, and peel the skin off in strips starting from the stem end. Wear gloves for large batches — the process can roughen hands.
- Remove seeds. Break off the blossom-end cap and shake seeds vigorously into a bucket. Save seeds from your best specimens for replanting. Only black, hard seeds are viable.
- Rinse thoroughly. Run a strong stream of water through the sponge to flush out remaining sap, seeds, and skin fragments. A hose with a jet nozzle works well. Quality checkpoint: Squeeze the sponge — it should spring back. A persistent odor means incomplete cleaning.
- Initial dry in shade. Hang on a line or lay on racks in a breezy, shaded area for 1–2 days. Do not put wet sponges in full sun immediately — they can develop dark spots.
- Sun cure. Move to full sun for final whitening and curing. Turn sponges regularly. Full drying takes 3–7 days depending on size and humidity. Quality checkpoint: Check daily for developing dark spots — remove immediately and isolate any with mold.
- Final inspection and grading. Check each sponge against your grade criteria. Trim any discolored or uneven edges with sharp scissors for a clean retail look.
Natural Whitening Options
- Sun exposure — the most natural whitener. Multiple days of direct sun brightens fibers significantly and requires no additives.
- 3% hydrogen peroxide soak — soak 30–60 minutes, rinse thoroughly, dry in full sun. Gentle, leaves no residue. Good for retail-quality finish.
Quality Control Summary
| Checkpoint | What to Look For |
|---|---|
| At harvest | Uniform yellowing, loud rattle test, skin looseness |
| Post-peeling | No remaining skin fragments, no soft spots, no mold |
| Post-rinse | Fiber springs back when squeezed; no persistent odor |
| During drying | Turn daily; isolate any developing dark spots immediately |
| Final inspection | Grade each sponge; trim edges; discard soft or moldy sponges |
10. Seed Saving
- Select seeds from the largest, straightest, densest sponges on your healthiest, most productive vines
- Allow the seed gourd to fully dry on the vine until it rattles loudly and the skin is fully brown and crisp
- Shake seeds out and spread in a single layer to air-dry for 1–2 weeks
- Only black, hard seeds are viable — discard white, soft, or shriveled seeds
- Store in an airtight jar or envelope in a cool, dry place. Refrigerate for storage beyond one year.
- Label with variety name, date, and parent plant notes
11. Waimanalo Year-Round Planting Calendar
Stagger plantings every 6–8 weeks for continuous production. Each cycle from seed to finished sponge is approximately 5–6 months (150–200 days). While Cycle A is being harvested, Cycle D can already be in the ground.
| Month | Activity |
|---|---|
| January | Start seeds (Cycle A). Process and inspect prior harvest sponges. Check trellis infrastructure — repair before new season. |
| February | Transplant Cycle A seedlings. Continue processing. Start Cycle B seeds. |
| March | Train Cycle A vines onto trellis. Transplant Cycle B. Begin hand-pollinating Cycle A. |
| April | Bag young Cycle A fruit immediately after pollination. Cycle B growing. Start Cycle C seeds. |
| May | Cycle A approaching harvest — monitor for yellowing and rattle. Cycle B flowering. Transplant Cycle C. |
| June | Harvest and process Cycle A sponges. Cycle B fruiting and bagging. Train Cycle C vines. |
| July | Grade and store Cycle A. Cycle B fruit bagging continues. Cycle C growing. Start Cycle D seeds. |
| August | Harvest Cycle B. Cycle C flowering and hand-pollinating. Transplant Cycle D. |
| September | Process Cycle B sponges. Cycle C fruiting and bagging. Cycle D establishing. |
| October | Harvest Cycle C. Cycle D growing. Save best seeds from the season for next year. |
| November | Process Cycle C. Cycle D nearing harvest. Prepare for holiday gift packaging. |
| December | Harvest Cycle D. Package and grade sponges. Start Cycle A seeds again. Review season — note what worked. |
12. References & Further Reading
The following resources informed this guide and are recommended for deeper reading on loofah cultivation and Hawaii pest management:
- UH CTAHR — Melon Fly (Bactrocera cucurbitae)
Hawaii-specific pest biology, management strategies, and integrated control.
cms.ctahr.hawaii.edu → Bactrocera cucurbitae - NC State Extension — Commercial Luffa Sponge Gourd Production
Comprehensive production guide covering spacing, trellis systems, and yield data.
content.ces.ncsu.edu → Commercial Luffa Production - UF/IFAS HS1285 — Luffa: An Asian Vegetable Emerging in Florida
Agronomic detail including days to maturity, yield expectations, and variety comparison.
ask.ifas.ufl.edu → HS1285 - Purdue University — Luffa Sponge Gourds: A Potential Crop for Small Farms
Original research on loofah as a small farm income crop.
hort.purdue.edu → Luffa Sponge Gourds - UH CTAHR — Home Garden Vegetable Growing Guide (HGV-17)
General cucurbit production guidance adapted for Hawaii conditions.
ctahr.hawaii.edu → HGV-17